👉 Let’s stay connected on social media!
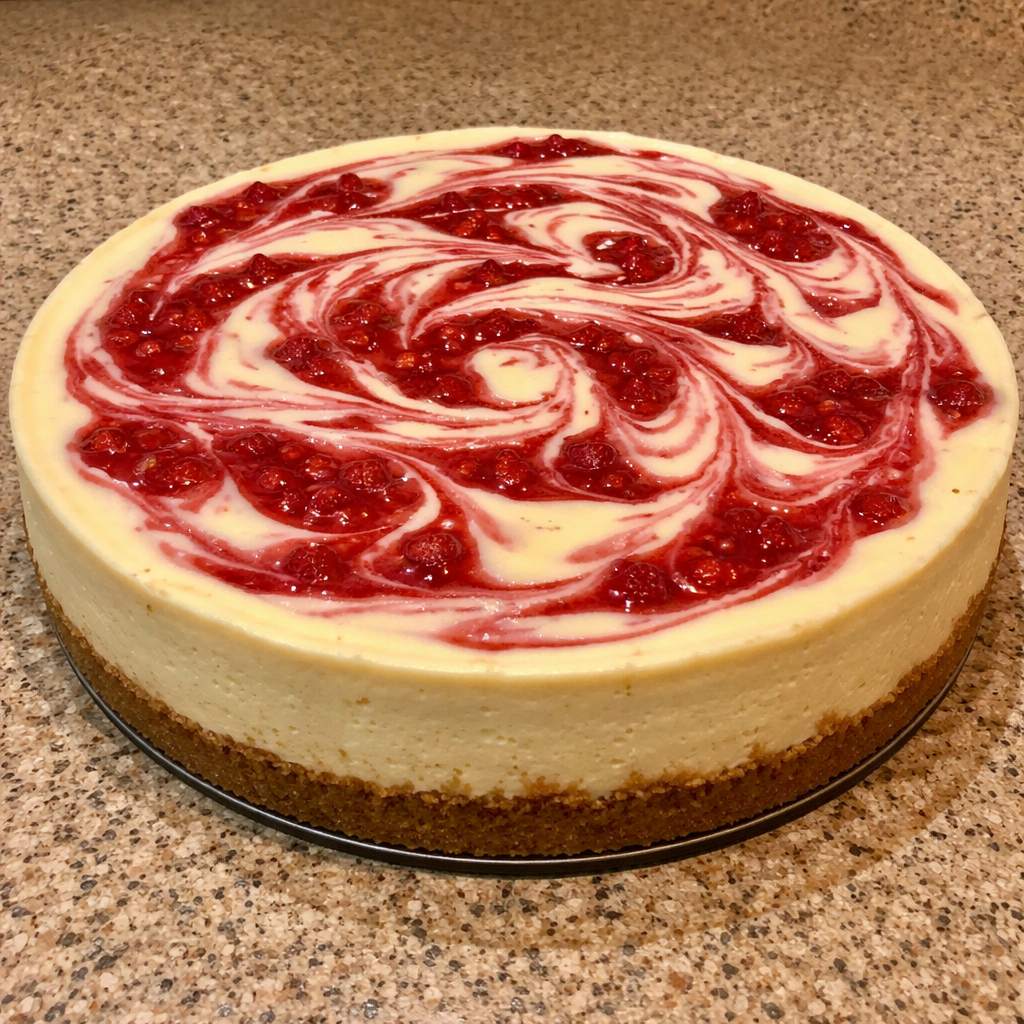
Strawberry Swirl Cheesecake
QUICK REMINDER:
There’s a “jump to recipe” button for convenience, but if you head straight to the recipe card, you might miss useful ingredient notes, step-by-step tips, FAQs, and other helpful details that can make your dish turn out even better.
There’s something undeniably comforting about making a cheesecake. It’s that moment when you realize it’s more than just mixing ingredients together; it’s like crafting a little peace of mind. Cheesecake becomes a canvas for creativity, transforming ingredients into something you can’t wait to share. This Strawberry Swirl Cheesecake, with its creamy filling and vibrant fruit sauce, feels like a hug on a plate – especially on those busy weeknights when you simply need to breathe and enjoy something beautiful.
As a child, I remember my mother unwrapping the butter, its distinct smell filling the kitchen, while a symphony of whisks and bowls thrummed in the background. The anticipation built as the cream cheese and sugar combined into a silky mixture, and you could almost taste the sweetness of those moments together. Fast forward to today, and while the chaos of family gatherings and busy schedules might sometimes overshadow that calm, I still find joy in creating desserts that fit into our lives.
This Strawberry Swirl Cheesecake is uncomplicated and special enough to make any day feel like a celebration. It gently nudges you to pause, to savor the process, and in return, it rewards you with a dessert that’s truly delightful. Let’s dive into this recipe together, shall we?
Gathering Goodness
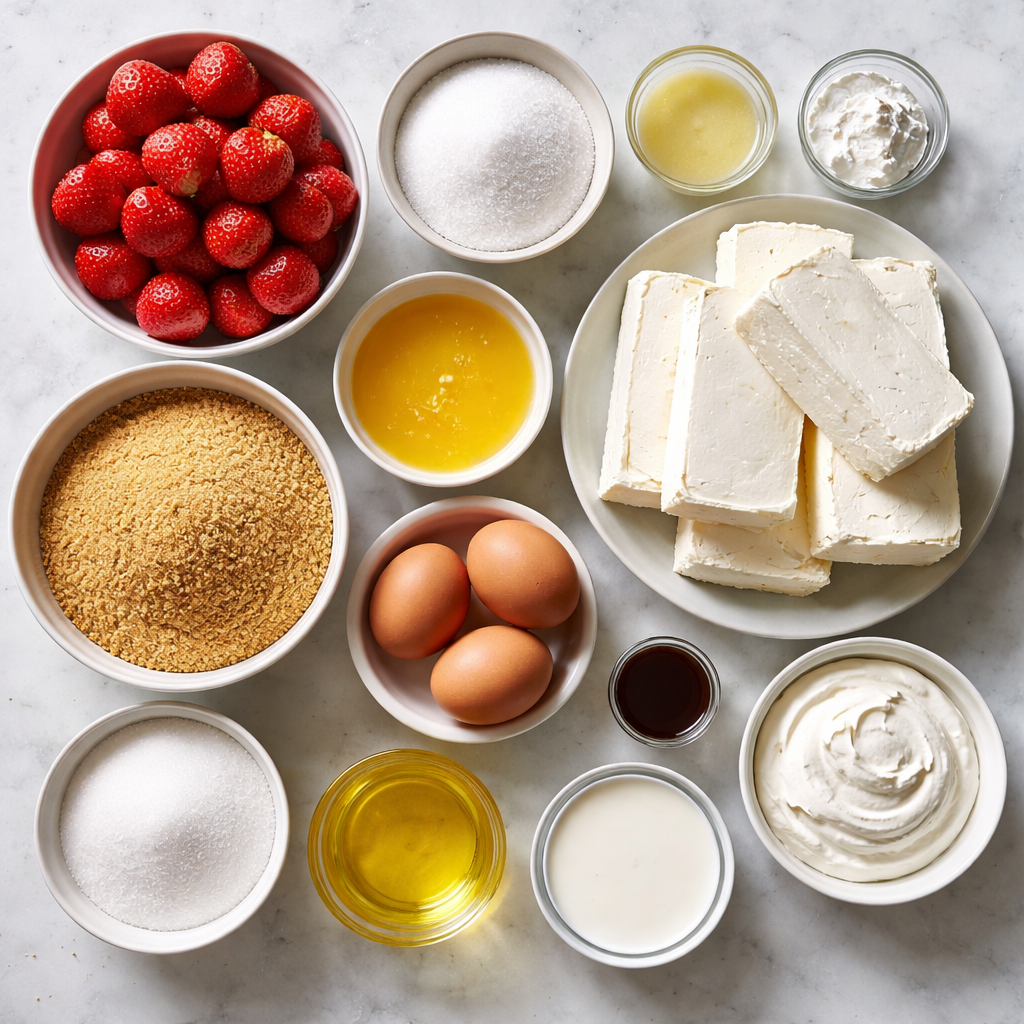
Before rolling up your sleeves, let’s assemble our ingredients. You’ll need a balance of tart and sweet, a few staples from the pantry, and, if you’re like me, perhaps a quiet moment to reflect on what this lives up to become. Here’s what you’ll want to have on hand:
- 1 ½ cups fresh or frozen strawberries, hulled
- ¼ cup granulated sugar (for sauce)
- 1 tablespoon lemon juice
- 1 tablespoon cornstarch mixed with 1 tablespoon water
- 1 ½ cups graham cracker crumbs
- ⅓ cup granulated sugar (for crust)
- ½ cup unsalted butter, melted
- 24 ounces (3 blocks) cream cheese, softened
- 1 cup granulated sugar (for filling)
- 3 large eggs
- 1 teaspoon vanilla extract
- 1 cup sour cream
- ¼ cup heavy cream
Creating the Dreamy Sauce
Let’s kick things off with the strawberry sauce, which will bring a lovely burst of color and flavor to our cheesecake. Start with a small saucepan, and as you combine the hulled strawberries, ¼ cup of sugar, and lemon juice over medium heat, take a moment to savor the aroma that wafts from the pan.
As the strawberries soften after about 5-7 minutes, grab a potato masher or a fork; you’ll want to gently break them down into a purée. The texture should be somewhat smooth but can still have a few lovely chunks for character. Once you’ve mashed to your liking, stir in the cornstarch slurry and let it thicken for another minute or so. Then, remove it from heat and allow it to cool completely. The sauce can be a little tangy, a little sweet, and entirely delicious, making it the perfect topping for your creamy base.
Building a Solid Base
Now that the sauce is cooling, let’s work on our crust. Preheat your oven to 325°F (160°C) while you mix those graham cracker crumbs, ⅓ cup of sugar, and melted butter in a medium bowl. The mixture should have a texture similar to wet sand; it’s perfect for pressing into a 9-inch springform pan.
Take your time with this step, as a well-pressed crust will hold its shape beautifully. Once you’ve smoothed it down firmly, bake it for 8-10 minutes until it’s lightly golden. This will not only help set the crust but also deepen the flavor, setting a great foundation for the cheesecake ahead.
The Creamy Filling
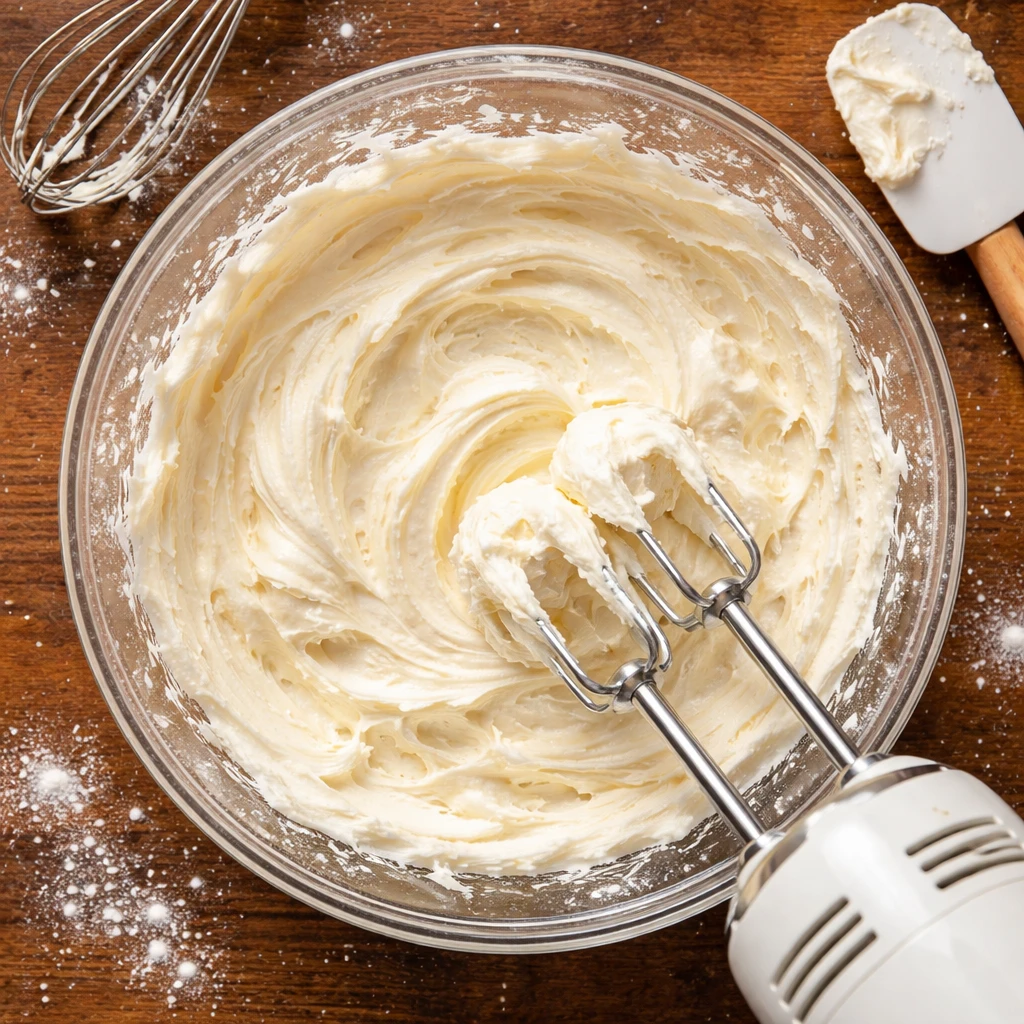
With your crust cooling, let’s shift our focus to the cheesecake filling. In a large bowl, beat the softened cream cheese and 1 cup of sugar together with an electric mixer until it becomes smooth and fluffy, about 2-3 minutes. This is where the magic begins.
As you add in the eggs—one at a time, mixing after each addition—take note of how the texture transforms. When it’s time to add the vanilla extract, sour cream, and heavy cream, be careful not to overmix; a few gentle turns are all you need to blend them in comfortably. Remember, we want that luscious texture to shine through.
Pouring on the Goodness
You’re now ready to assemble! Pour the creamy filling onto your prepared crust, smoothing it out to create an inviting top. Next, drop spoonfuls of your cooled strawberry sauce onto the cheesecake. Here’s where you can unleash that creative side; use a knife or skewer to swirl the sauce into the filling, creating a lovely marbled effect. It doesn’t have to be perfect; the beauty is in the spontaneous artistry.
The Water Bath Wonder
To prevent cracks and ensure an even baking process, we’re going to use a water bath. Place your springform pan inside a larger baking dish and fill this with 1-2 inches of hot water. This adds moisture to the air of your oven, and in return, your cheesecake bakes evenly and gently.
Bake for 55-65 minutes, or until the edges start to set and the center still jiggles slightly if you shake it gently. Once done, turn off the oven, crack the door open, and let the cheesecake cool inside for about an hour, gradually easing it into room temperature.
Cooling and Serving
After your cheesecake has cooled down, carefully remove it from the water bath, allowing it to reach room temperature completely. This cooling process is vital to achieving the right texture, so don’t rush it.
Once cooled, refrigerate for at least 6 hours, although overnight is truly best if you can wait. Before serving, run a knife around the edges of the pan for easy release, and slice it with a gentle hand. Top with any remaining strawberry sauce or fresh strawberries if you like—they add a vibrant touch and an extra layer of flavor.
FAQ: All things Strawberry Swirl Cheesecake
Absolutely! Frozen strawberries work well, just keep in mind they might release more moisture. It’s best to thaw and drain them before cooking to avoid too much liquid in your sauce. If you use them straight from frozen, you may need to cook them for an extra minute or so to ensure they soften nicely.
If you’re looking for a substitute, plain Greek yogurt is an excellent choice. It will still provide that tangy flavor and creamy texture. You could also use crème fraîche if you have it handy; both will add a lovely richness to the filling.
A good indicator is the edges, which should look set while the center jiggles slightly when you gently shake the pan. It will also continue to cook a little while cooling in the oven, so don’t worry if it’s still a bit wobbly when you take it out.
Definitely! Cheesecake is actually better when made a day ahead. Just prepare it, chill it overnight, and it will develop an even richer flavor. Plus, it takes one more worry off your plate if you’re entertaining the next day!
Don’t fret too much about cracks; they can happen! If it does crack, you can cover it with fresh strawberry sauce or fruit to disguise it. Remember, it’s all about taste, and it will still be delicious, even if it’s not picture-perfect.