There’s a “jump to recipe” button for convenience, but if you head straight to the recipe card, you might miss useful ingredient notes, step-by-step tips, FAQs, and other helpful details that can make your dish turn out even better.
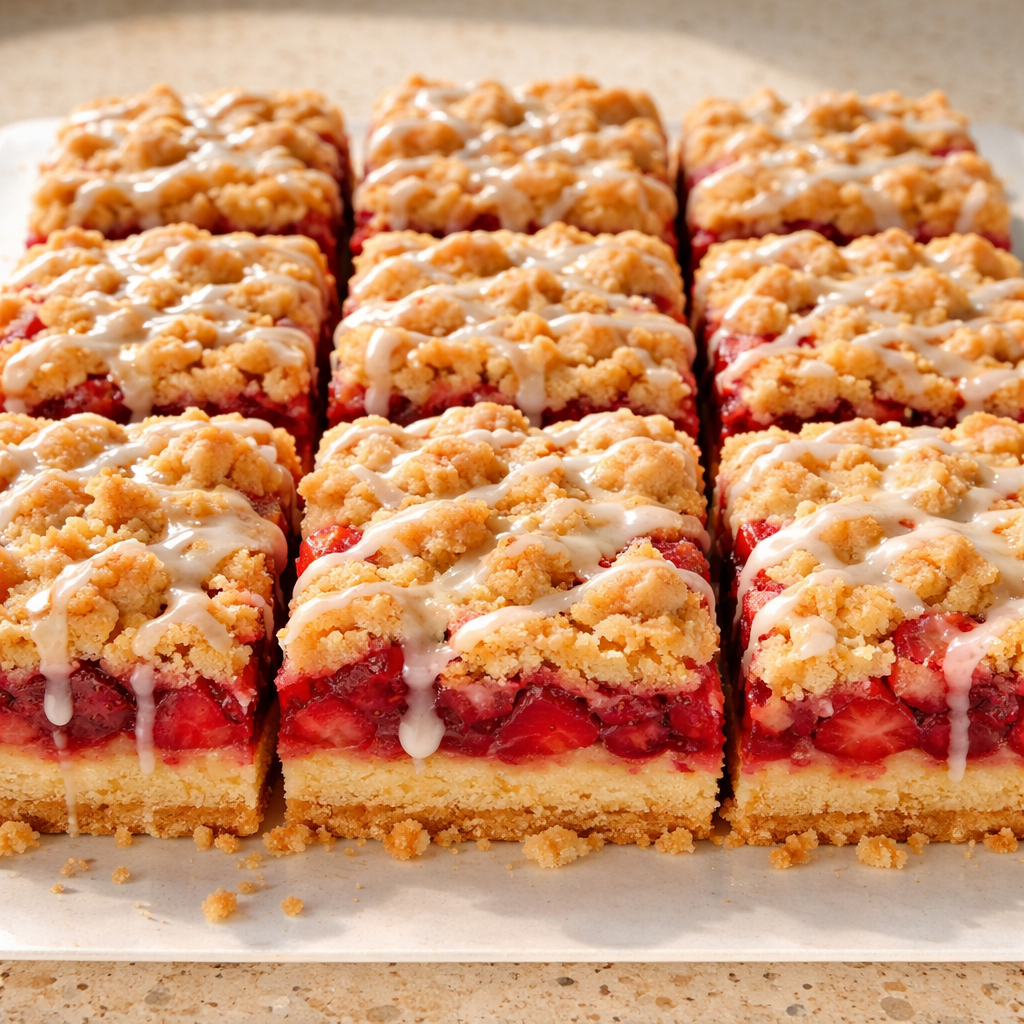
There’s something inherently soothing about the aroma of strawberries baking into a golden crust. Maybe it’s the memory of summertime gatherings—bright tablecloths and laughter weaving through the air while plates filled with desserts make the rounds. When life gets busy, or when the clouds roll in, strawberry shortcake bars bring a taste of that sunshine inside your home. For those evenings when you want a treat but don’t have hours to spare, these bars provide a calming respite. You’ll find that the ingredient list is straightforward, but the result feels special—a perfect combination of buttery crust, fresh strawberries, and a light glaze.
Gathering Your Ingredients
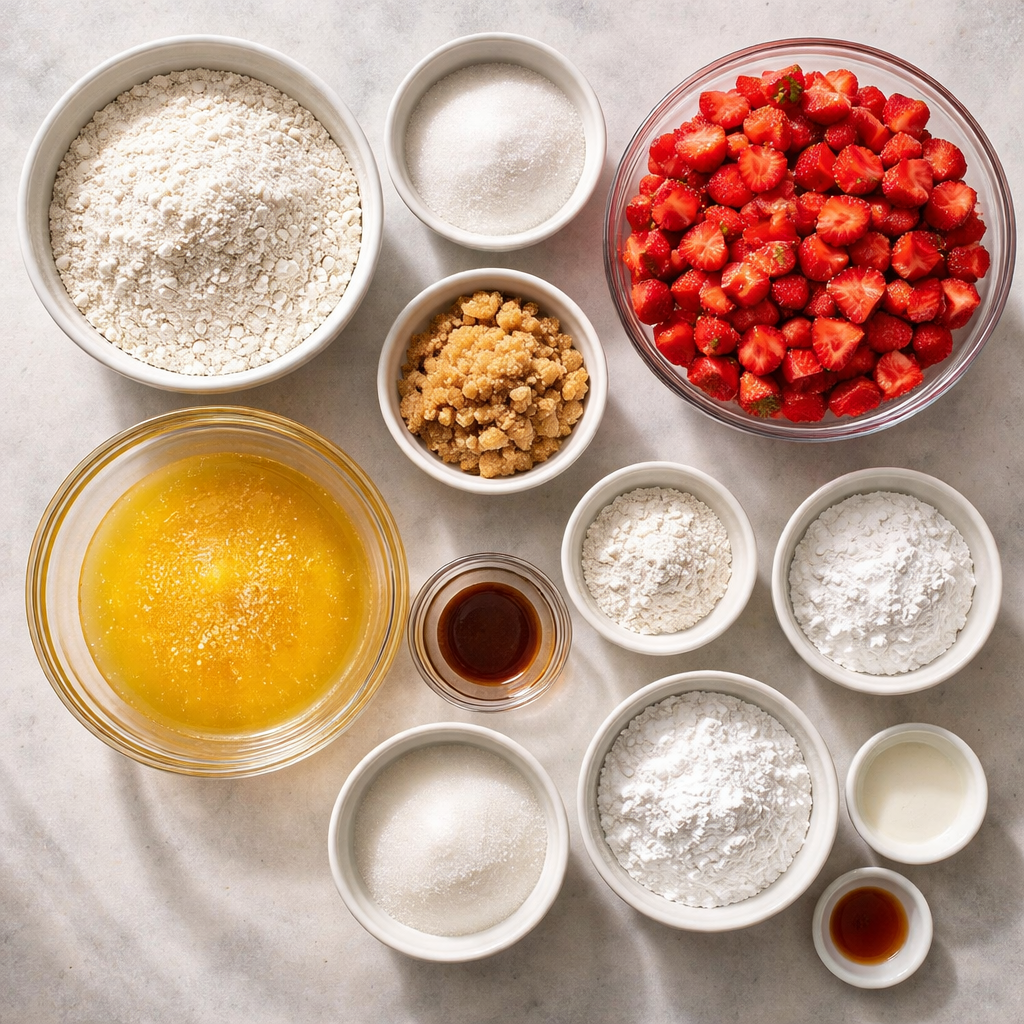
Let’s start with what you’ll need. Keep this list at your fingertips, as it’s both simple and satisfying, ensuring you can whip up these bars at a moment’s notice.
- 1 ¾ cups all-purpose flour
- ⅓ cup granulated sugar
- 3 tablespoons packed light brown sugar
- ¾ cup salted butter, melted (or unsalted with a pinch of salt)
- 1 teaspoon pure vanilla extract
- 3 cups chopped fresh strawberries
- 2 tablespoons granulated sugar (for strawberries)
- 1 tablespoon all-purpose flour (for strawberries)
- ½ cup powdered sugar (for glaze)
- 1 tablespoon light or heavy whipping cream (for glaze)
- ¼ teaspoon pure vanilla extract (for glaze)
A Simple Promise
This recipe isn’t just a collection of steps, it’s a pact with your kitchen—one that assures you good food doesn’t have to come with stress. Cooking is a dance, really, a gentle sway between gathering, preparing, and enjoying. Picture it: your oven warming up, the scent of strawberries filling the room, and the busy pace of life momentarily fading as you slice into the bars. They’re sweet but not overly so, rich yet light—just what you need to wrap up a bustling day or elevate a quiet evening at home.
The Heart of the Kitchen: Preparing the Crust
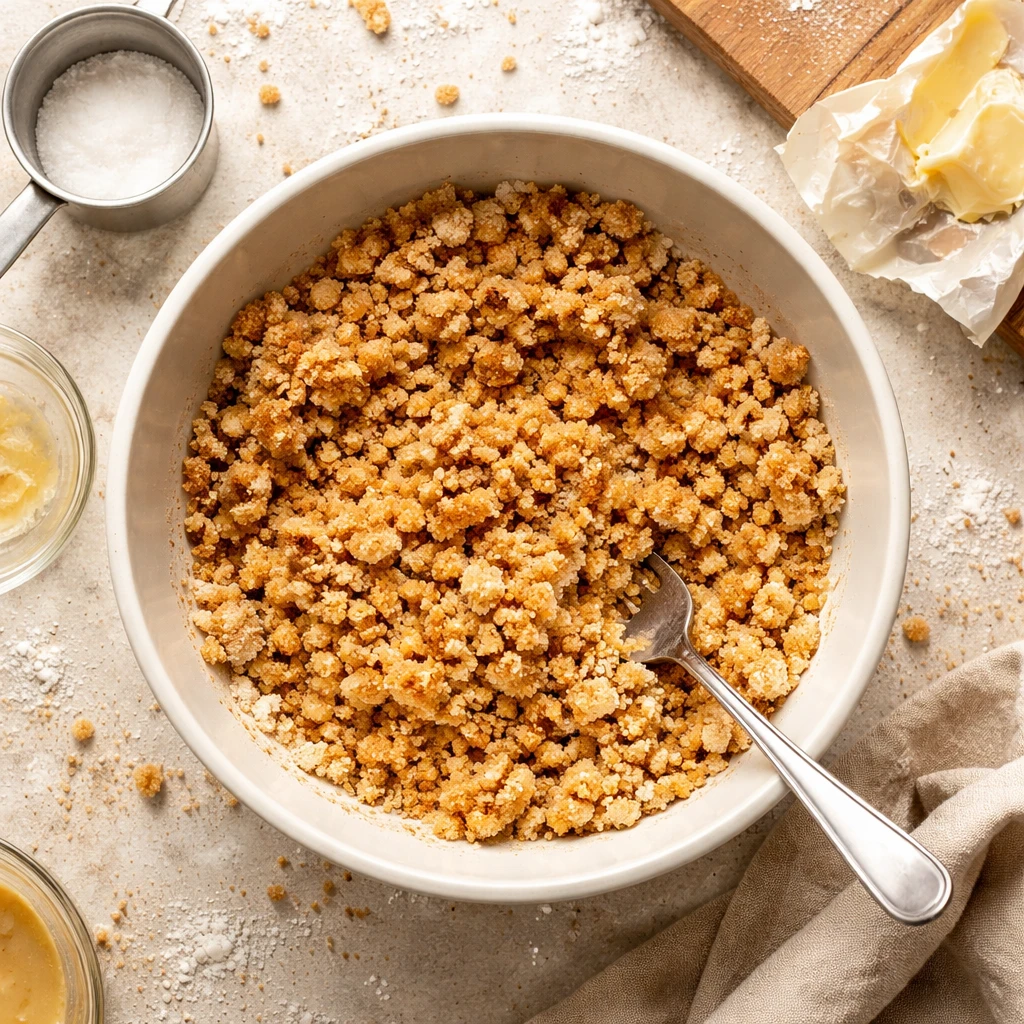
When making these bars, it’s all about starting with a solid base. The first promise of comfort lies in that buttery, crumbly crust. You can feel the texture under your fingers as you combine the sugars, flour, and melted butter. It shouldn’t be too fine—think of it like soft crumbs that hold hands with each other. Once you press two-thirds of this mixture into the pan, you will be rewarded with a golden crust that’s just begging for its fruity topping.
The Star of the Show: How to Prep Your Strawberries
Those strawberries deserve a moment of glory, too. As you chop them, notice their bright red hue and sweet scent. Tossing them with a bit of sugar and flour not only enhances their natural sweetness but also helps absorb excess moisture, ensuring your bars won’t be soggy. It’s a little trick that makes all the difference—whatever you do, don’t skip it. You want the berries to keep their shape and allow their juices to mingle with that buttery layer, creating an exquisite harmony.
Your Step-by-Step Directions
Now, let’s put it all together in a seamless flow that ensures a successful bake.
- Preheat the oven to 350°F (175°C). Line an 8×8-inch baking pan with parchment paper.
- In a medium bowl, combine 1 ¾ cups flour, ⅓ cup granulated sugar, 3 tablespoons brown sugar, and a pinch of salt. Mix thoroughly, then add ¾ cup melted butter and 1 teaspoon vanilla; mix until crumbly.
- Press two-thirds of this mixture into the prepared pan and bake for 15-20 minutes until golden.
- Meanwhile, mix 3 cups chopped strawberries with 2 tablespoons granulated sugar and 1 tablespoon flour, then spread this glorious mixture on the cooled crust.
- Crumble the remaining crust on top and bake for 30-35 minutes until bubbly.
- Let cool before making the glaze.
- For the glaze, whisk ½ cup powdered sugar, 1 tablespoon cream, and ¼ teaspoon vanilla until smooth, then drizzle over the bars.
- Cut into 12 pieces and serve.
Beyond the Bake: Tips for Success
As you embark on this recipe, here are a few extra tips that I’ve gathered over my own years in the kitchen. Timing is key; while the oven is preheating, prepare your strawberry mixture, so everything flows seamlessly. Keep an eye on your crust during baking, as ovens can be a tad unpredictable — golden brown edges mean it’s just right. And if you find the glaze’s consistency isn’t quite to your liking, adjust the cream gradually, aiming for a pourable texture without losing its sweetness.
Common Questions Answered
Absolutely, frozen strawberries can work in a pinch, but be sure to thaw and drain them to prevent excess moisture. They might not be as vibrant, but they’ll still deliciously complement the bars.
If you don’t have parchment paper, you can lightly grease the pan with butter or cooking spray to make sure the bars don’t stick. A non-stick spray works wonders, too.
Yes, you can! Blueberries or raspberries would be lovely additions, either on their own or mixed with the strawberries. Just aim for the same total quantity to keep the filling balanced.
These bars can be stored in an airtight container at room temperature for a couple of days. If you need them to last longer, refrigerate them for up to a week, though I doubt they’ll last that long!
Certainly! You can substitute the all-purpose flour with a gluten-free flour blend. Just ensure it includes xanthan gum or add a small amount to help mimic the texture of traditional flour.
A Final Taste of Comfort
Serving these strawberry shortcake bars is as much about the experience as it is about the flavor. Imagine placing them on the table, the glaze glistening in the light, a warm cup of tea or coffee at hand. You create a moment that lets everyone savor a simple pleasure. Whether enjoyed on a busy weeknight or saved for a leisurely weekend, these bars come through as a reliable friend in your culinary journey, reminding you that happiness can be crafted with just a few ingredients and a little love.